The blending and shooting of multiple exposures
Previously when film cameras were used to create multiple exposure shots, there was a whole myriad of equations and exposure times that had to be figured out. Today, shooting multiple exposures couldn’t be easier: just go to the DSLR’s shooting menu, select multiple exposure, set the number of frames and shoot away. The camera seamlessly puts the images together.
That’s the easy part.
The hard part comes when choosing, framing and positioning your shots so that they blend well together into one image. Here’s a how-to guide with tips and tricks to get you the shot that best expresses your creativity:
Start by thinking of a concept you wish to explore (e.g. a portrait or a layered landscape photo). Next, pick a great subject or scene, and finally, work with your camera's angles so that it fits perfectly and complements (or provides a striking contrast to) the base layer to yield much better results.
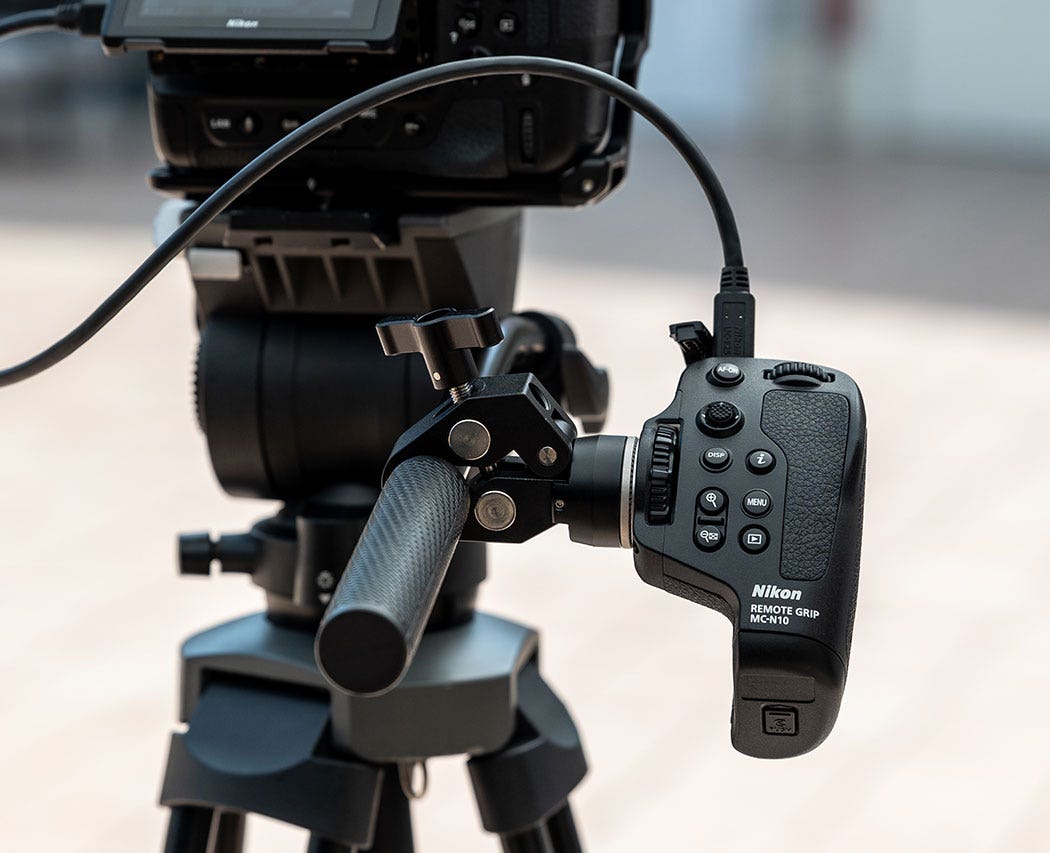
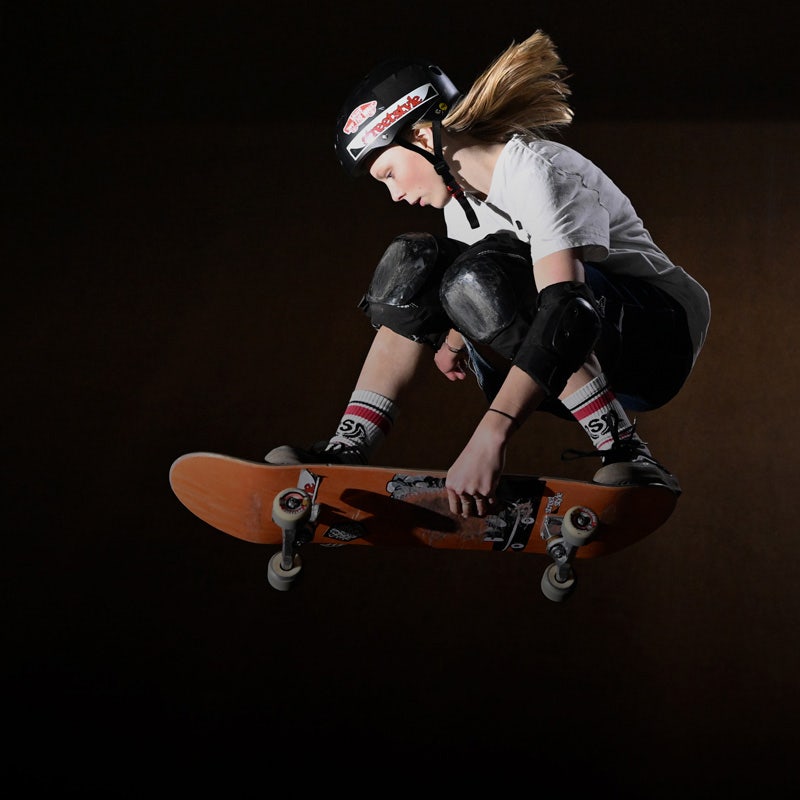
For beginners, a general rule of thumb is to use a darker subject or scene as your base or first exposure. Darker subjects or scenes (e.g. silhouettes, colourful graffiti and street art) will blend more easily, while brighter or lighter subjects (e.g. sunny sky or bright landscape) may blow out some details in your double exposure. Otherwise adjust your exposure to gather more light by using a wider aperture or boosting the ISO. Additionally, a tripod will be very useful in stabilizing the image.
Moreover, it is important to note that your background shouldn’t be too busy (e.g. faces, trees, buildings) as parts of these objects might get repeated in the final composite and distract the attention from the main subject.
Read more on multiple exposure techniques here.